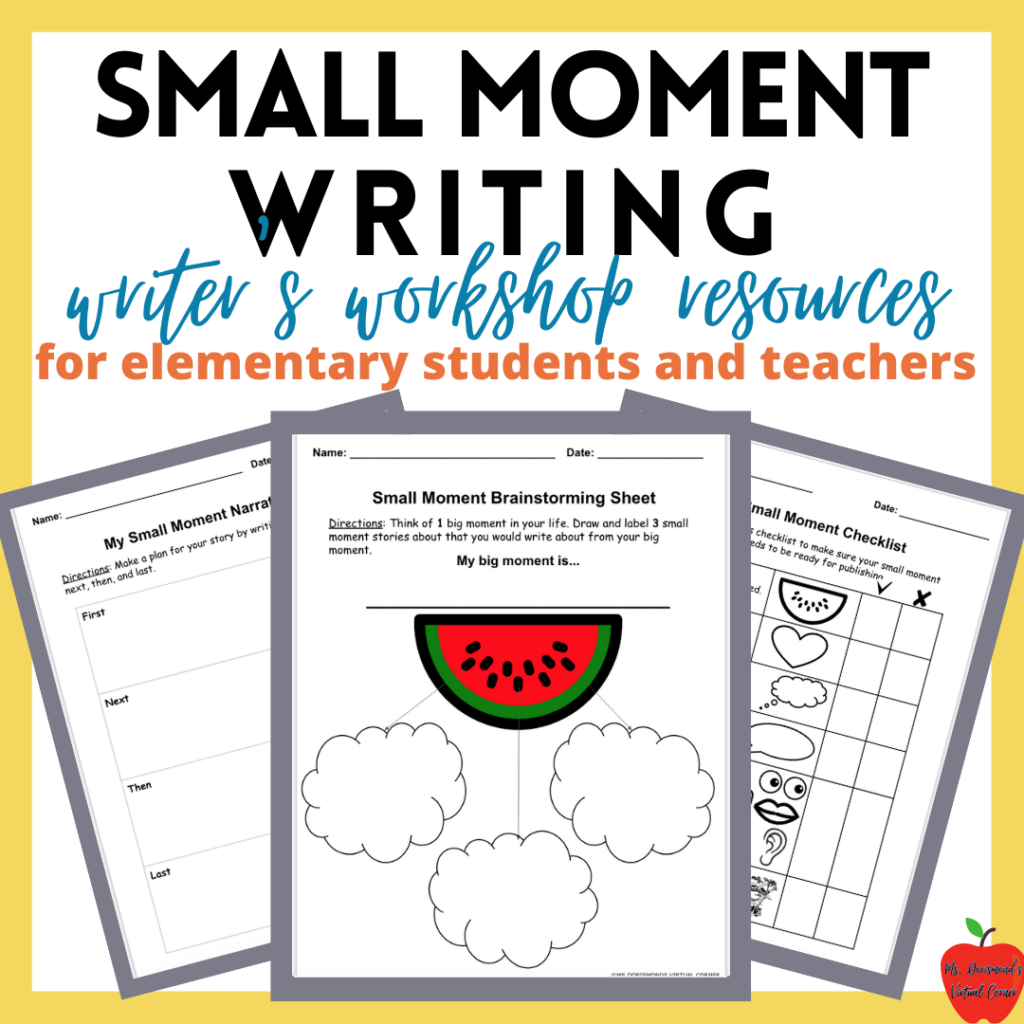
Teaching small moment writing in K-2 can seem like a difficult task, but it is not. Following a writing process can help students to organize their writing while focusing on what matters most… their stories!
Breaking Down The Writing Process
First, students brainstorm their writing topics to find one they are interested in writing. Then, they plan what they will write in their stories by sequencing the events that happened. Next, they write their draft including the introduction, body, and conclusion. Next, they will edit and revise their writing to prepare it for publishing. Last, they will publish their writing to share it with others. Let’s go over these steps in more detail.
Brainstorming Small Moment Writing Topics

When writers brainstorm a writing topic, they are thinking of all the possible topics they can write about. This is when young writers list their topic ideas using a sketch and sometimes a few words to help them remember their topic.
It is best to have your students use graphic organizers, or brainstorming sheets to help them visually organize their thoughts. I have a few brainstorming sheets that I use for small moment writing in my Small Moment Writing Resources Pack.
Brainstorming small moments can be hard for students. They may start with large ‘watermelon’ moments making it harder for them to focus on the details of their moments. It is important to help students understand the difference between a big moment and a small ‘seed’ moment.
Read Teaching Small Moment Writing in K-2 to learn how I teach small moment seed ideas to my students. We really break down seed stories there!
After students have brainstormed at least three topics, they can choose one story that they like the most and would like to write about first. Then, we can move them on to the planning stage of the process.
Making a Plan for Your Writing
Has a student ever told you, “I don’t know what to write!” It is easy to tell students to just start writing as much as they can remember about their small moments, but that does not always produce the best writing from young writers. It can also lead to frustration from students who cannot get their thoughts onto paper.
Making a plan can help young writers sequence the events of their story as they remember them. Using sequence words such as First, Then, Next, and Last (to name a few) will allow students to create an outline to get their ideas onto paper.
Once your students have a plan for their writing, it is time to start writing!
Writing a Draft
Some educators prefer to teach their students to write their introduction first. I like to go against the grain. I have my students write out the events of their stories using their planning sheet.
Only when they have completed the body of their writing can they start to think about the introduction. I find that sometimes, writers get inspiration for amazing introductions while writing their stories.
Now that your students have the bulk of their writing, it is time to move on to writing their introductions.
Writing an Introduction
An introduction is also known as an opening, lead, or hook. It is the first few sentences at the beginning of a story.
A good introduction needs to hook a reader and draw them into reading a story. I always recommend my students start their stories using either a question, a sound, dialogue, or setting. Please encourage your students to get a little creative here to really make their introductions pop!
Now that your students have their drafts and introductions, it is time to move on to writing their conclusion.
Writing a Conclusion
Conclusions are also known as closings. It is the very last page of a story and reminds readers what the story was all about. I like to tell my students that it is like putting a period at the end of a sentence to let readers know that they have finished reading their stories.
I teach my students 5 different ways to end their stories. They can either rephrase their opening, tell how they felt at the end of the story, describe a lesson they learned, share something they hope will happen in the future, or give an update about their small moment. These can either be used separately or combined to make a meatier ending to a story.
At this point, your students should have a complete story written on their small moment topic. However, they have only completed their first drafts. They will need to revise and edit their writing in order to prepare it for publishing. Read Publishing Small Moments for Young Writers to learn how you can help your writers prepare their stories for the world.
For easier access, I have put all the suggested YouTube videos into a single playlist.
Recommended Posts
If you missed my last article, read Teaching Small Moment Writing in K-2 in K-2 to find out how I teach small moment writing with my students.
Also, consider filling your class library with small moment mentor texts to give your students examples of how they can write their own small moment stories. For a few of my recommended favorites, check out Best Mentor Texts for Teaching Small Moments.


What’s up friends, how is everything, and what you desire to say regarding this article, in my view
its actually remarkable designed for me.